* Added most of the stuff * Updated pages * Removed unrequired deps * API fixes * Fixes fixes and updated readme * Updated og image * Added demo and links to example * Updated packages * update name. bump dependencies * Renamed .env.example to .env.local.example * Added node_modules to .gitignore * use recommended config * enable absolute import/alias support * remove jsconfig.json * allow HTML entities in post titles * add underline to content links * add basic ul & ol styles * add code block styles * add basic text alignment * add basic image alignment styles * adjust pre font-size and figcaption * indent ul,ol lists to line up with grid * add basic button styles * add basic file styles * add basic blockquote style * add basic audio styles * add h4 and enhance blockquote styles * add basic cover block styles * add basic verse styles * add basic two-column block styles * add tags * add categories * Only ignore .vercel The rest is injected by create-next-app * now → vercel * npm init → npx * Wordsmith * Wordsmith * Wordsmith * Wordsmith * Improve issue link * Wordsmith Co-authored-by: Greg Rickaby <greg@gregrickaby.com> Co-authored-by: Joe Haddad <joe.haddad@zeit.co> Co-authored-by: Shu Uesugi <shu@chibicode.com> Co-authored-by: kodiakhq[bot] <49736102+kodiakhq[bot]@users.noreply.github.com> |
||
|---|---|---|
| .. | ||
| components | ||
| docs | ||
| lib | ||
| pages | ||
| public/favicon | ||
| styles | ||
| .env.local.example | ||
| .gitignore | ||
| package.json | ||
| postcss.config.js | ||
| README.md | ||
| tailwind.config.js | ||
| vercel.json | ||
A statically generated blog example using Next.js and WordPress
This example showcases Next.js's Static Generation feature using WordPress as the data source.
Demo
https://next-blog-wordpress.now.sh
Related examples
How to use
Using create-next-app
Execute create-next-app with npm or Yarn to bootstrap the example:
npx create-next-app --example cms-wordpress cms-wordpress-app
# or
yarn create next-app --example cms-wordpress cms-wordpress-app
Download manually
Download the example:
curl https://codeload.github.com/zeit/next.js/tar.gz/canary | tar -xz --strip=2 next.js-canary/examples/cms-wordpress
cd cms-wordpress
Configuration
Step 1. Prepare your WordPress site
First, you need a WordPress site. There are many solutions for WordPress hosting, such as WP Engine and WordPress.com.
Once the site is ready, you'll need to install the WPGraphQL plugin. It will add GraphQL API to your WordPress site, which we'll use to query the posts. Follow these steps to install it:
- Download the WPGraphQL repo as a ZIP archive.
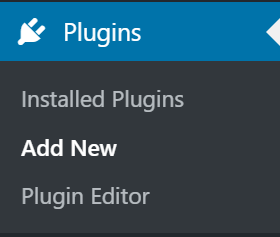
- Inside your WordPress admin, go to Plugins and then click Add New.
- Click the Upload Plugin button at the top of the page and upload the WPGraphQL plugin.
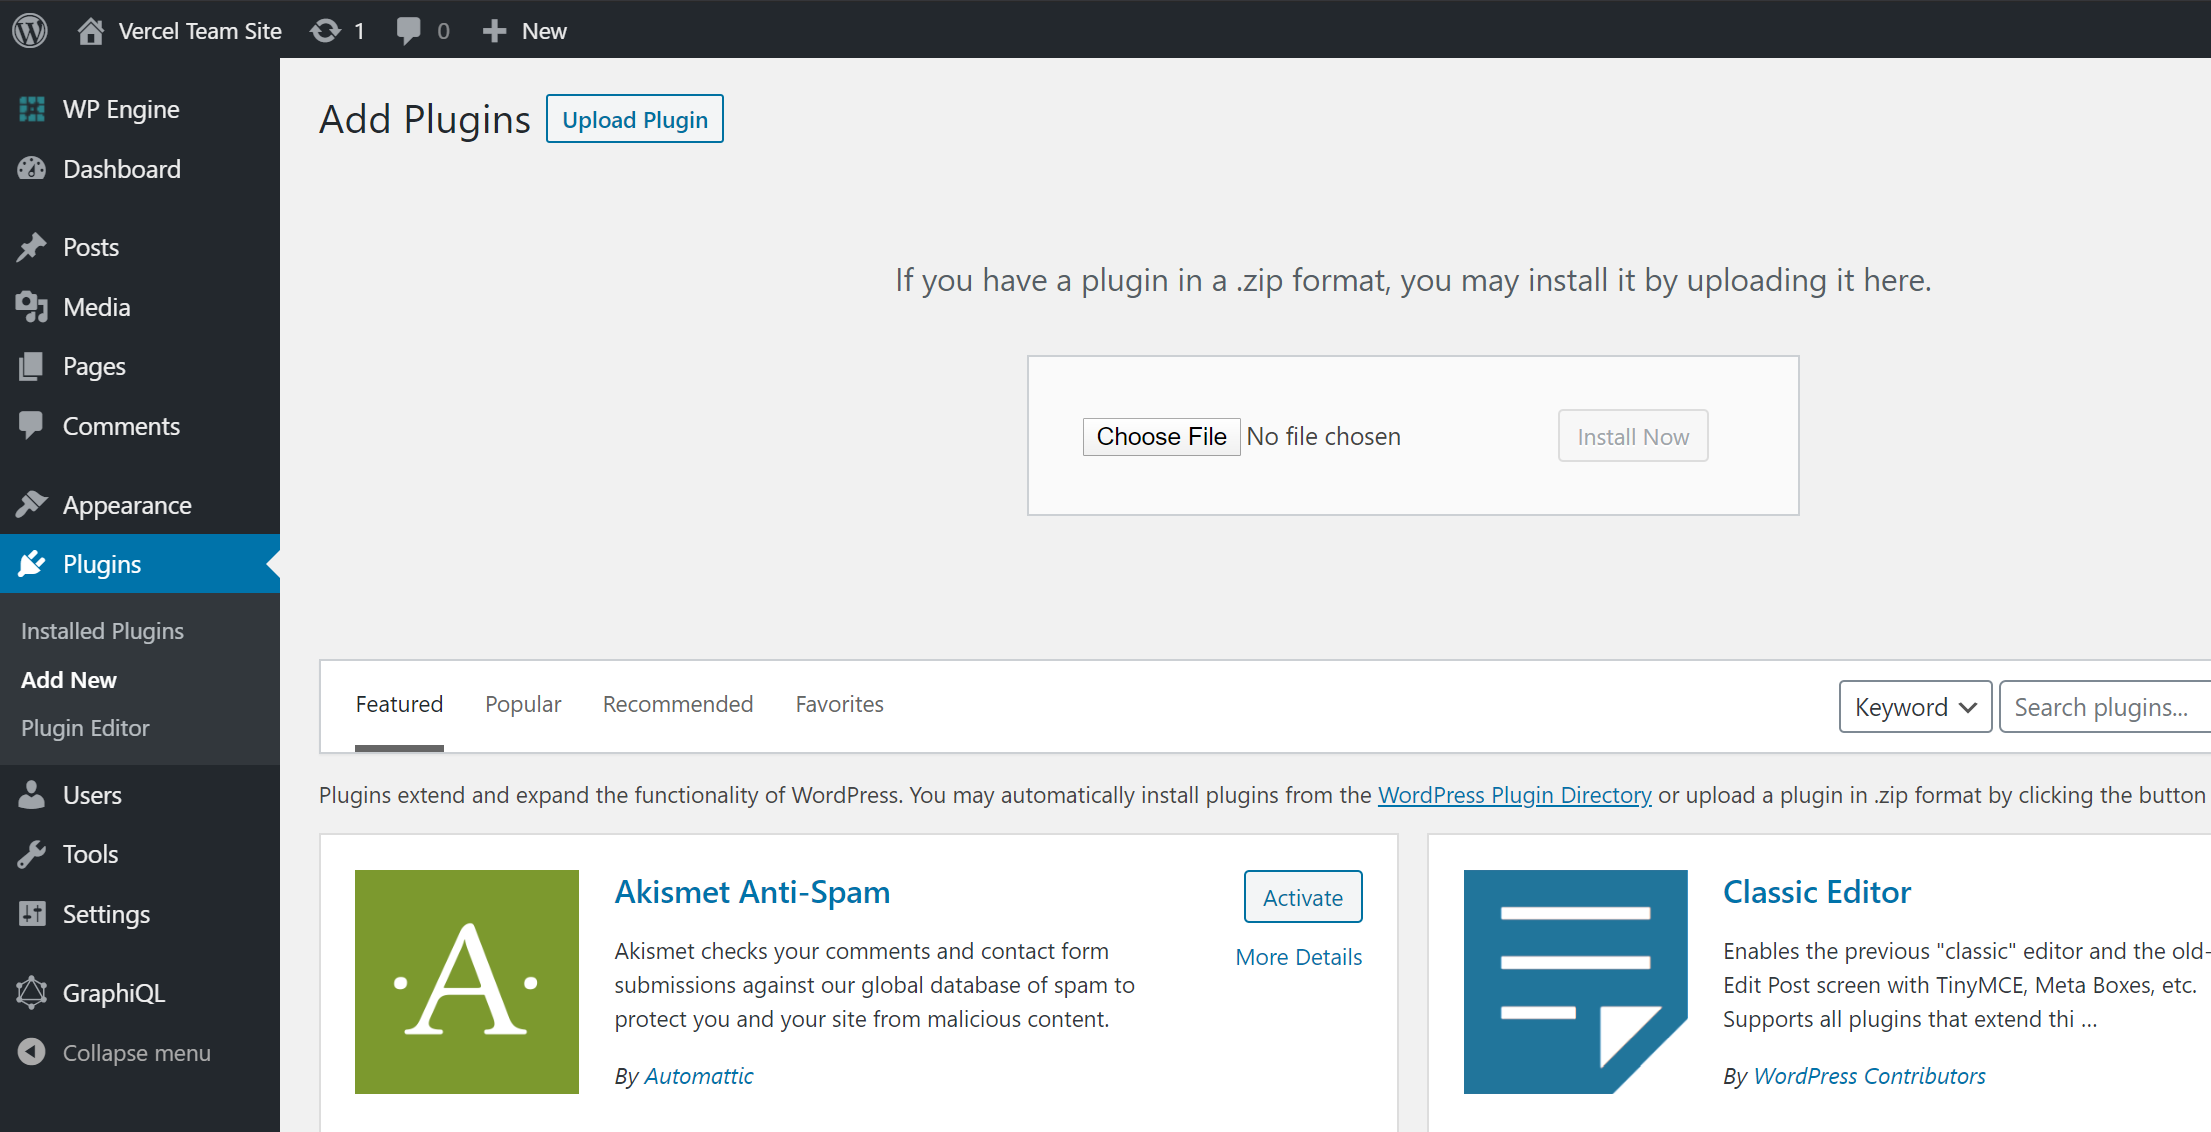
- Once the plugin has been added, activate it from either the Activate Plugin button displayed after uploading or from the Plugins page.

Optional: Add WPGraphiQL
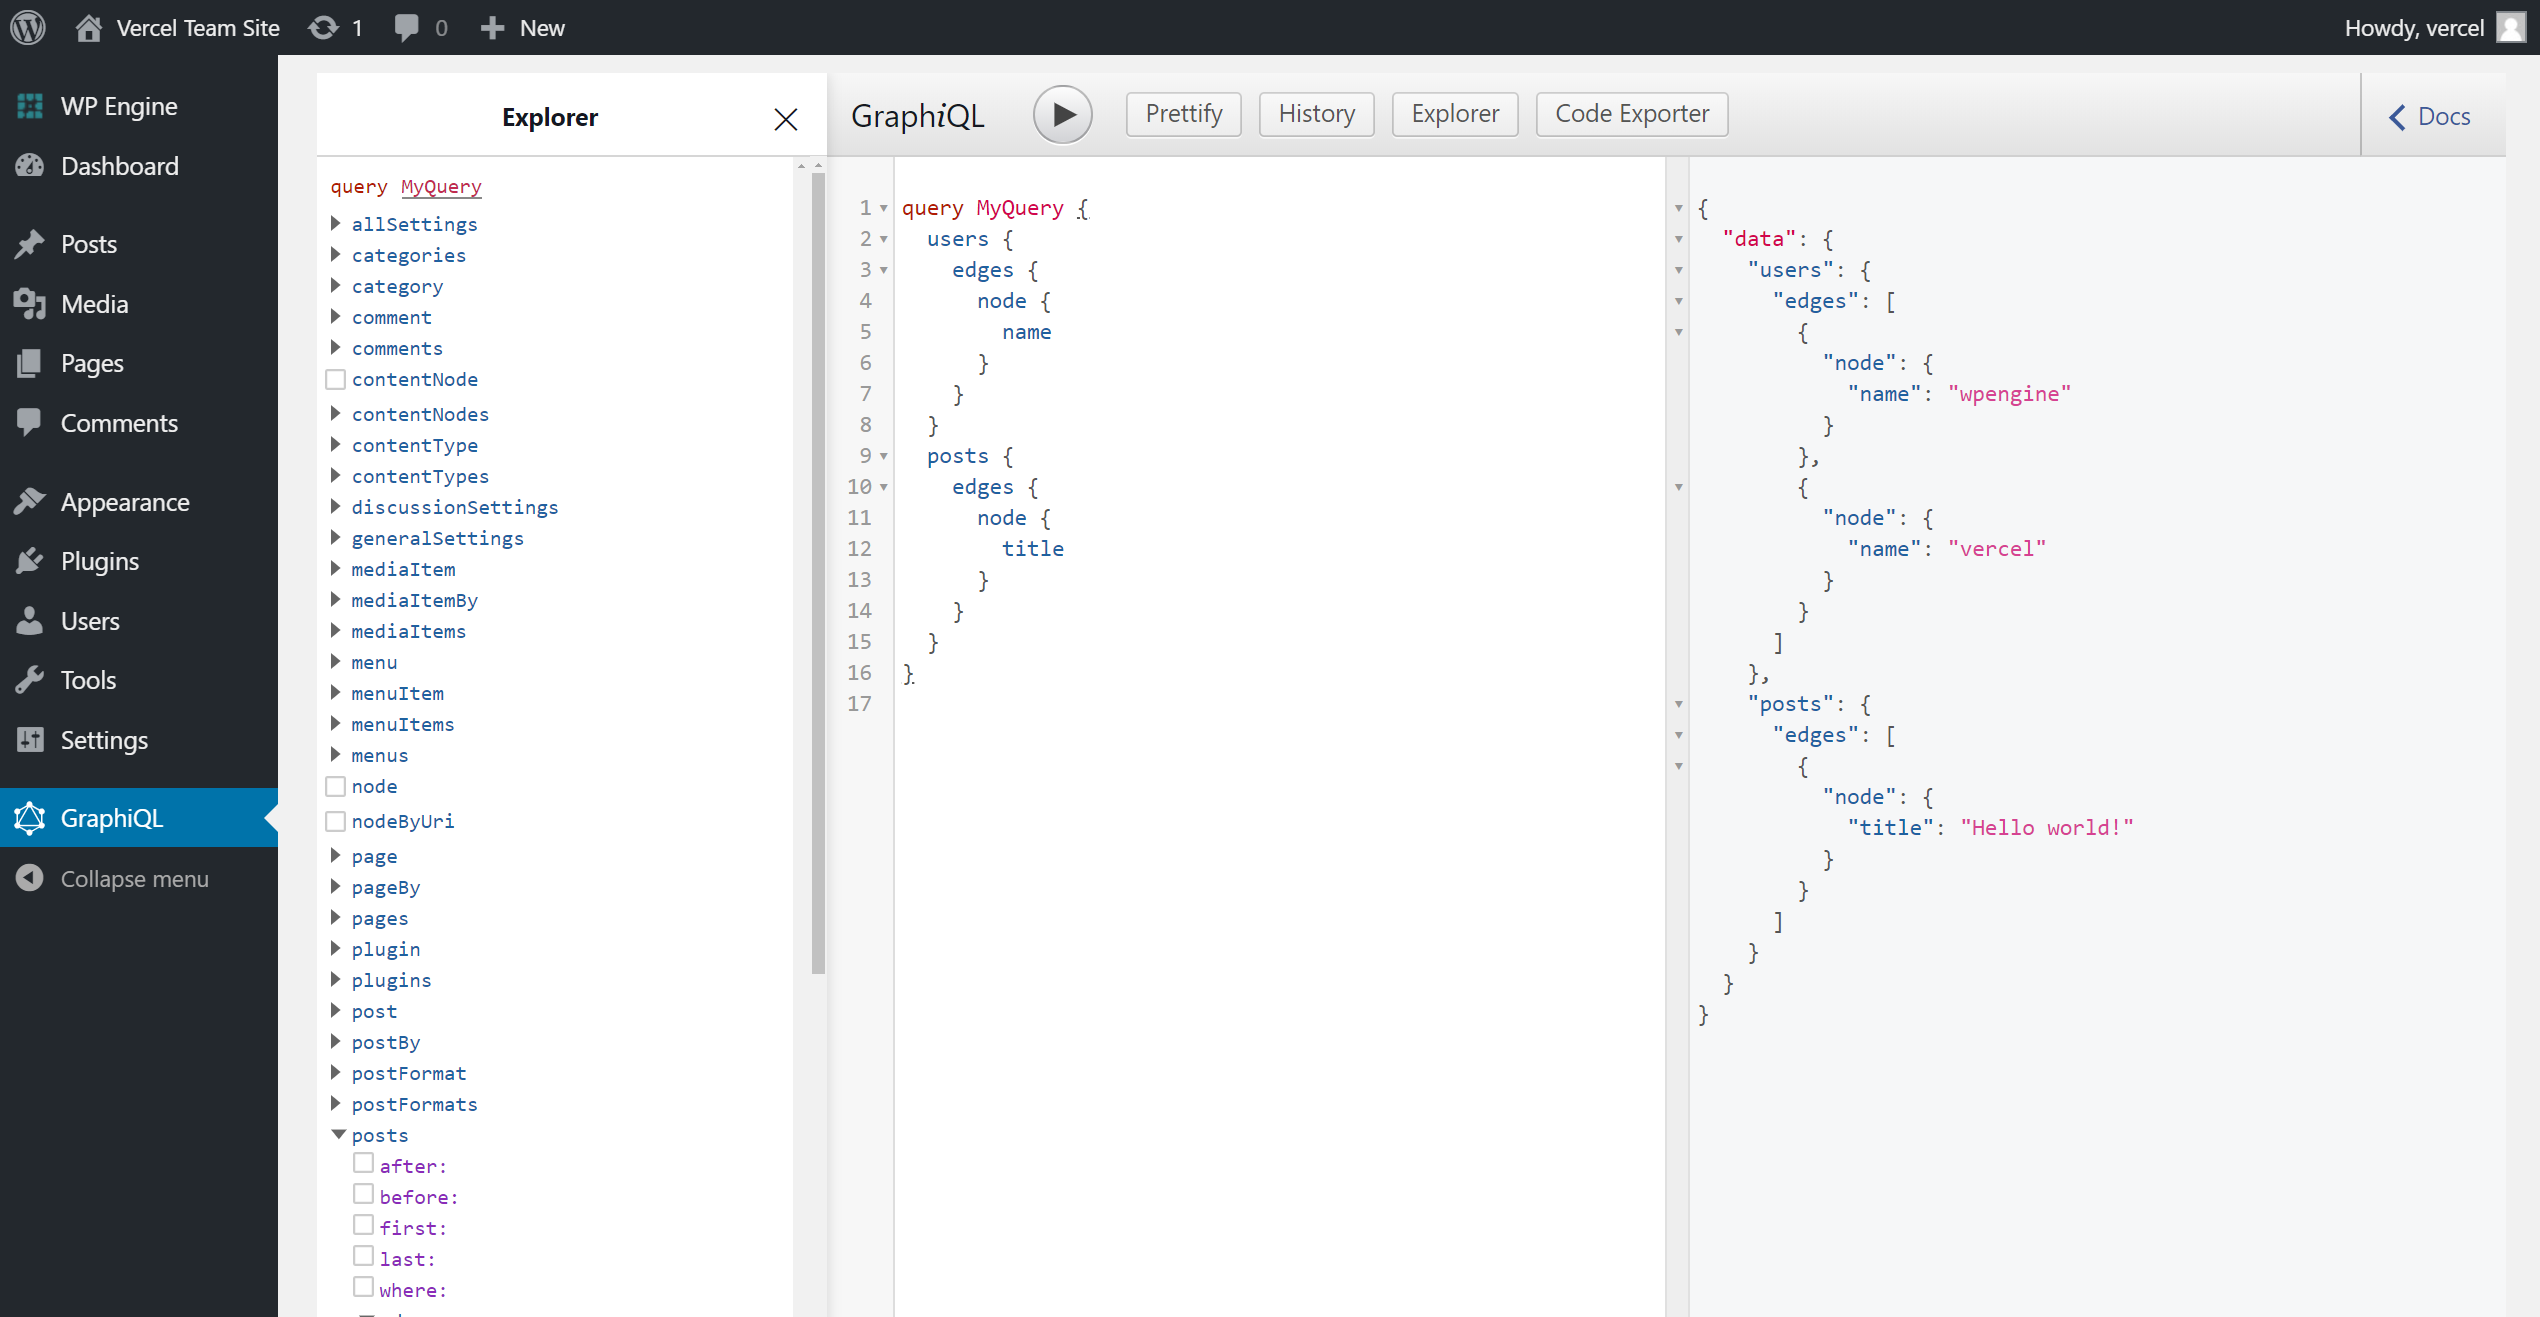
The WPGraphiQL plugin gives you access to a GraphQL IDE directly from your WordPress Admin, allowing you to inspect and play around with the GraphQL API.
The process to add WPGraphiQL is the same as the one for WPGraphQL: Go to the WPGraphiQL repo, download the ZIP archive, and install it as a plugin in your WordPress site. Once that's done you should be able to access the GraphiQL page in the admin:
Step 2. Populate Content
Inside your WordPress admin, go to Posts and start adding new posts:
- We recommend creating at least 2 posts
- Use dummy data for the content
- Pick an author from your WordPress users
- Add a Featured Image. You can download one from Unsplash
- Fill the Excerpt field
When you’re done, make sure to Publish the posts.
Note: Only published posts and public fields will be rendered by the app unless Preview Mode is enabled.
Step 3. Set up environment variables
Copy the .env.local.example file in this directory to .env.local (which will be ignored by Git):
cp .env.local.example .env.local
Then open .env.local and set NEXT_EXAMPLE_CMS_WORDPRESS_API_URL to be the URL to your GraphQL endpoint in WordPress. For example: https://myapp.wpengine.com/graphql.
Your .env.local file should look like this:
NEXT_EXAMPLE_CMS_WORDPRESS_API_URL=...

# Only required if you want to enable preview mode
# NEXT_EXAMPLE_CMS_WORDPRESS_AUTH_REFRESH_TOKEN=
# NEXT_EXAMPLE_CMS_WORDPRESS_PREVIEW_SECRET=
Step 4. Run Next.js in development mode
npm install
npm run dev

# or

yarn install
yarn dev
Your blog should be up and running on http://localhost:3000! If it doesn't work, post on GitHub discussions.
Step 5. Add authentication for Preview Mode (Optional)
This step is optional. By default, the blog will work with public posts from your WordPress site. Private content such as unpublished posts and private fields cannot be retrieved. To have access to unpublished posts you'll need to set up authentication.
To add authentication to WPGraphQL, first you need to add the WPGraphQL JWT plugin to your Wordpress Admin following the same process you used to add the WPGraphQL plugin.
Adding the WPGraphQL JWT plugin will disable your GraphQL API until you add a JWT secret (GitHub issue).
Once that's done, you'll need to access the WordPress filesystem to add the secret required to validate JWT tokens. We recommend using SFTP — the instructions vary depending on your hosting provider. For example:
Once you have SFTP access, open wp-config.php and add a secret for your JWT:
define( 'GRAPHQL_JWT_AUTH_SECRET_KEY', 'YOUR_STRONG_SECRET' );
You can read more about this in the documentation for WPGraphQL JWT Authentication.
Now, you need to get a refresh token to make authenticated requests with GraphQL. Make the following GraphQL mutation to your WordPress site from the GraphQL IDE (See notes about WPGraphiQL from earlier). Replace your_username with the username of a user with the Administrator role, and your_password with the user's password.
mutation Login {
  login(
    input: {
      clientMutationId: "uniqueId"
      password: "your_password"
      username: "your_username"
    }
  ) {
    refreshToken
  }
}
Copy the refreshToken returned by the mutation, then open .env.local, and make the following changes:
- Uncomment
NEXT_EXAMPLE_CMS_WORDPRESS_AUTH_REFRESH_TOKENand set it to be therefreshTokenyou just received. - Uncomment
NEXT_EXAMPLE_CMS_WORDPRESS_PREVIEW_SECRETand set it to be any random string (ideally URL friendly).
Your .env.local file should look like this:
NEXT_EXAMPLE_CMS_WORDPRESS_API_URL=...

# Only required if you want to enable preview mode
NEXT_EXAMPLE_CMS_WORDPRESS_AUTH_REFRESH_TOKEN=...
NEXT_EXAMPLE_CMS_WORDPRESS_PREVIEW_SECRET=...
Important: Restart your Next.js server to update the environment variables.
Step 6. Try preview mode
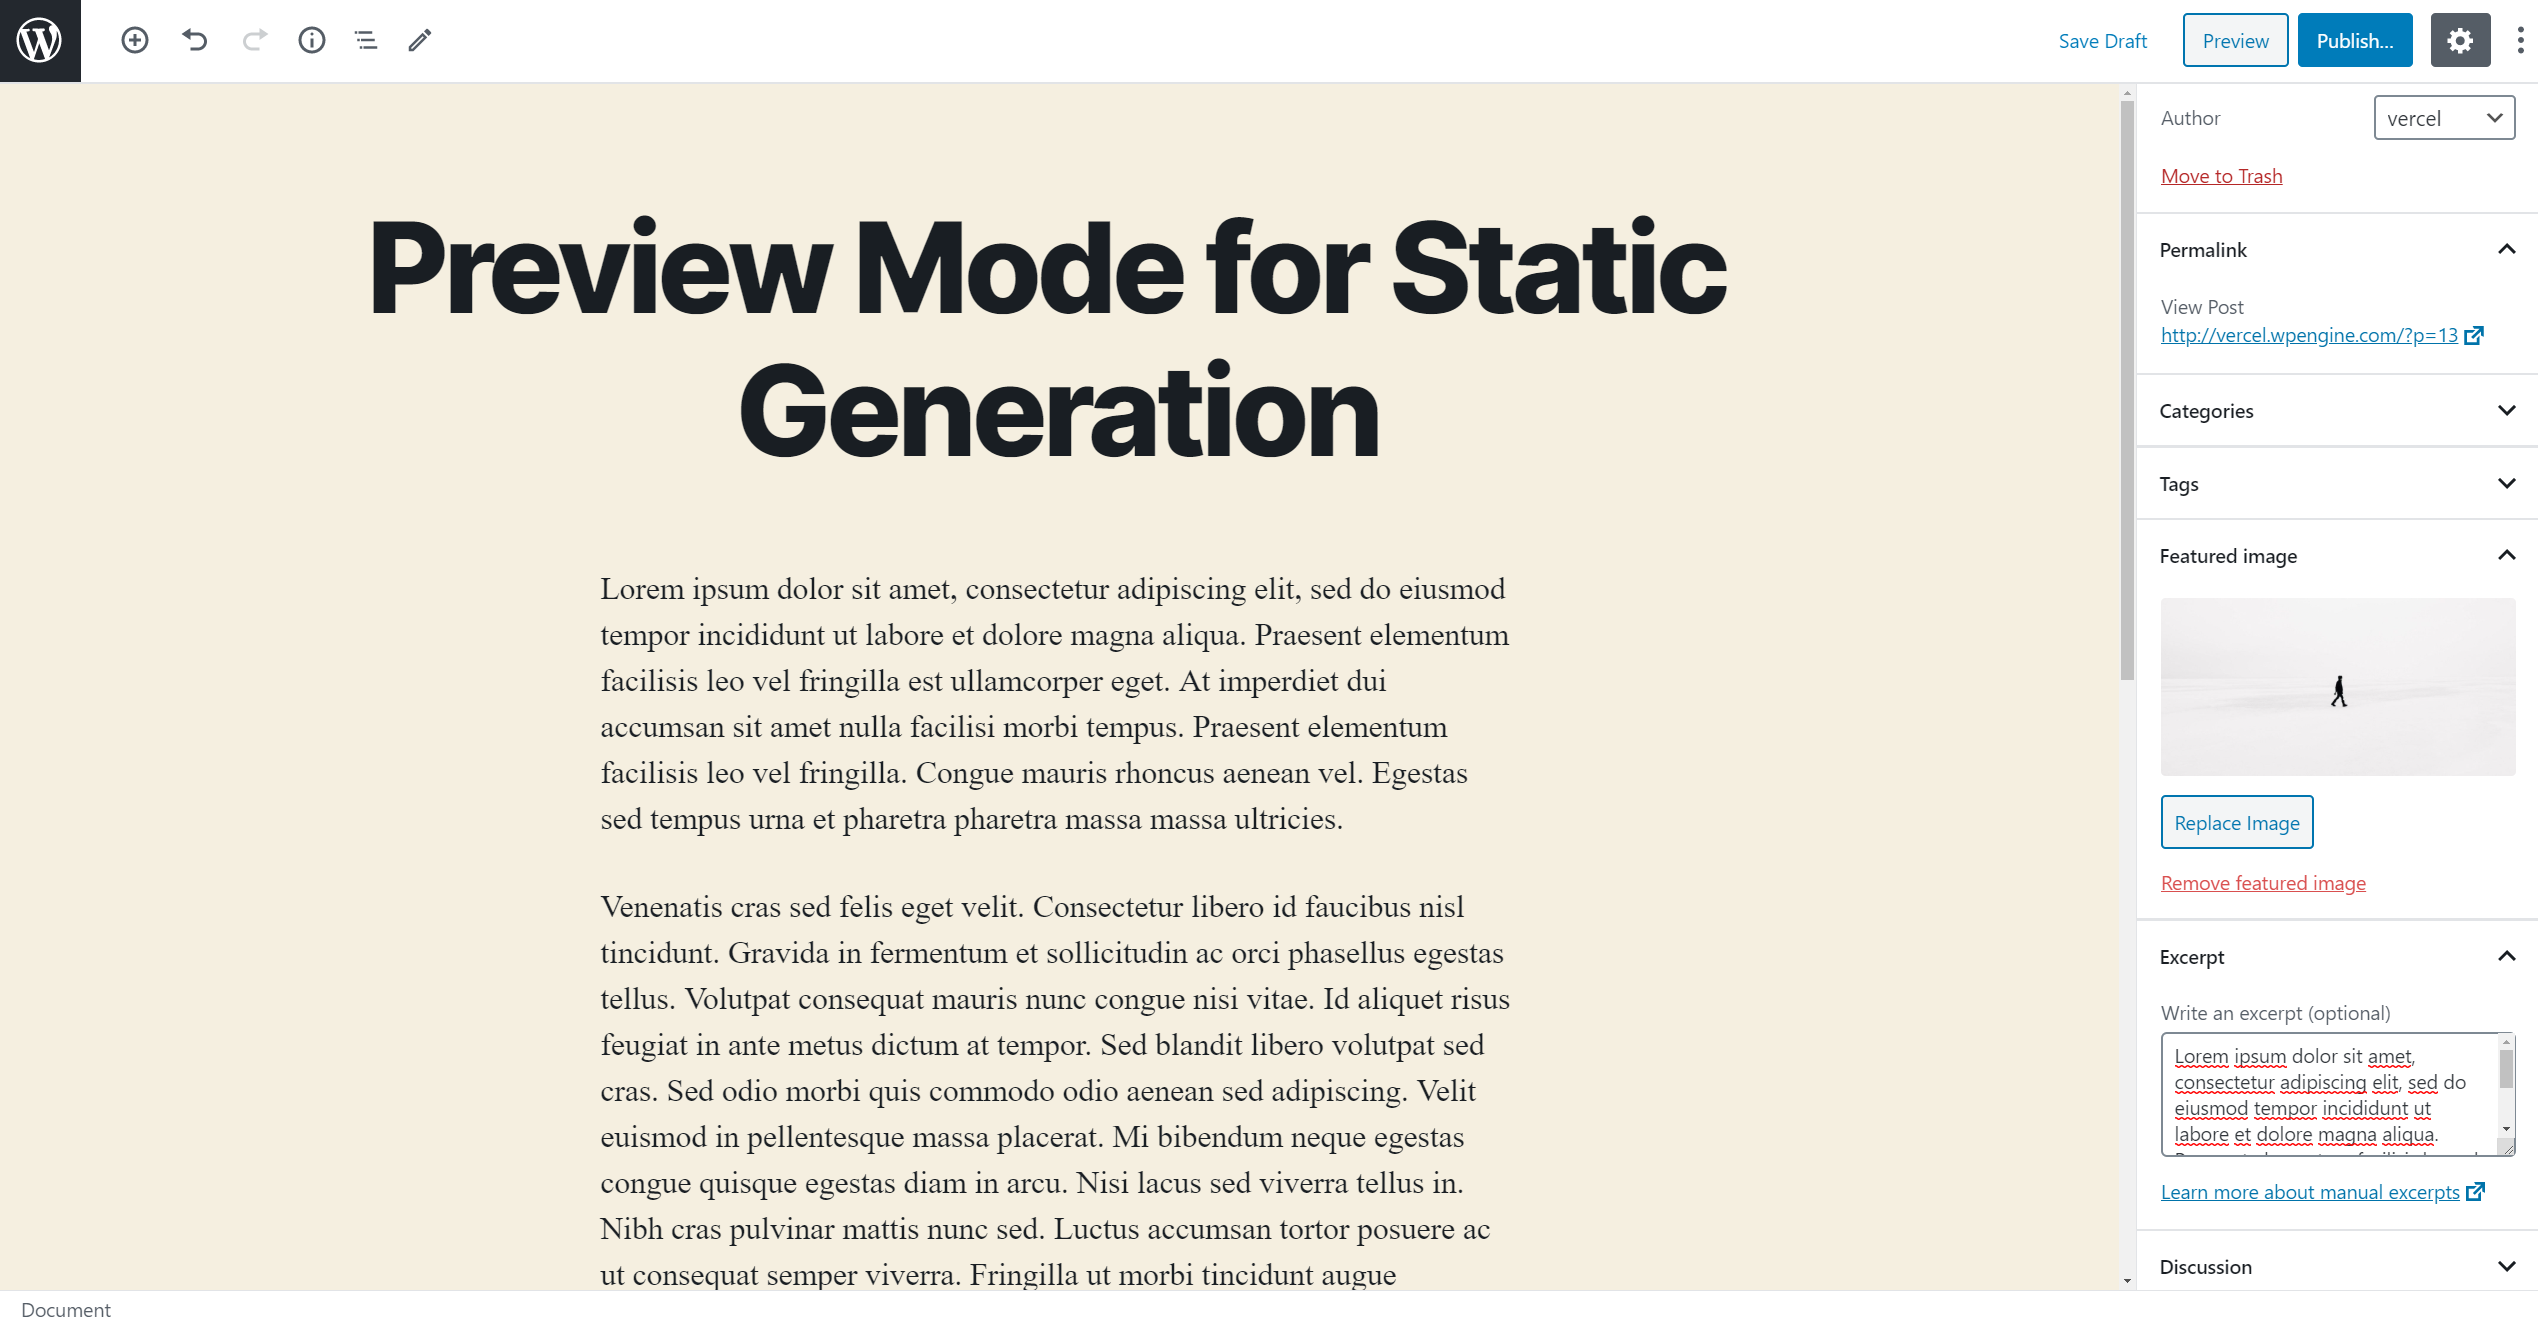
On your WordPress admin, create a new post like before, but do not publish it.
Now, if you go to http://localhost:3000, you won’t see the post. However, if you enable Preview Mode, you'll be able to see the change (Documentation).
To enable Preview Mode, go to this URL:
http://localhost:3000/api/preview?secret=<secret>&id=<id>
<secret>should be the string you entered forNEXT_EXAMPLE_CMS_WORDPRESS_PREVIEW_SECRET.<id>should be the post'sdatabaseIdfield, which is the integer that you usually see in the URL (?post=18→ 18).- Alternatively, you can use
<slug>instead of<id>.<slug>is generated based on the title.
You should now be able to see this post. To exit Preview Mode, you can click on Click here to exit preview mode at the top.
Step 7. Deploy on Vercel
You can deploy this app to the cloud with Vercel (Documentation).
To deploy on Vercel, you need to set the environment variables with Vercel Secrets using Vercel CLI (Documentation).
Install Vercel CLI, log in to your account from the CLI, and run the following commands to add the environment variables. Replace the values with the corresponding strings in .env.local:
vercel secrets add next_example_cms_wordpress_api_url <NEXT_EXAMPLE_CMS_WORDPRESS_API_URL>

# If you added authentication for preview mode:
vercel secrets add next_example_cms_wordpress_auth_refresh_token <NEXT_EXAMPLE_CMS_WORDPRESS_AUTH_REFRESH_TOKEN>
vercel secrets add next_example_cms_wordpress_preview_secret <NEXT_EXAMPLE_CMS_WORDPRESS_PREVIEW_SECRET>
Then push the project to GitHub/GitLab/Bitbucket and import to Vercel to deploy.