## Description This PR ensures that the default prettier config is used for examples and templates. This config is compatible with `prettier@3` as well (upgrading prettier is bigger change that can be a future PR). ## Changes - Updated `.prettierrc.json` in root with `"trailingComma": "es5"` (will be needed upgrading to prettier@3) - Added `examples/.prettierrc.json` with default config (this will change every example) - Added `packages/create-next-app/templates/.prettierrc.json` with default config (this will change every template) ## Related - Fixes #54402 - Closes #54409 |
||
|---|---|---|
| .. | ||
| components | ||
| lib | ||
| pages | ||
| public | ||
| styles | ||
| .env.template | ||
| .gitignore | ||
| next-env.d.ts | ||
| package.json | ||
| README.md | ||
| tsconfig.json | ||
Stytch + Next.js example app on Vercel
This is a Stytch + Next.js project that showcases how to enable elegant authentication in your application.
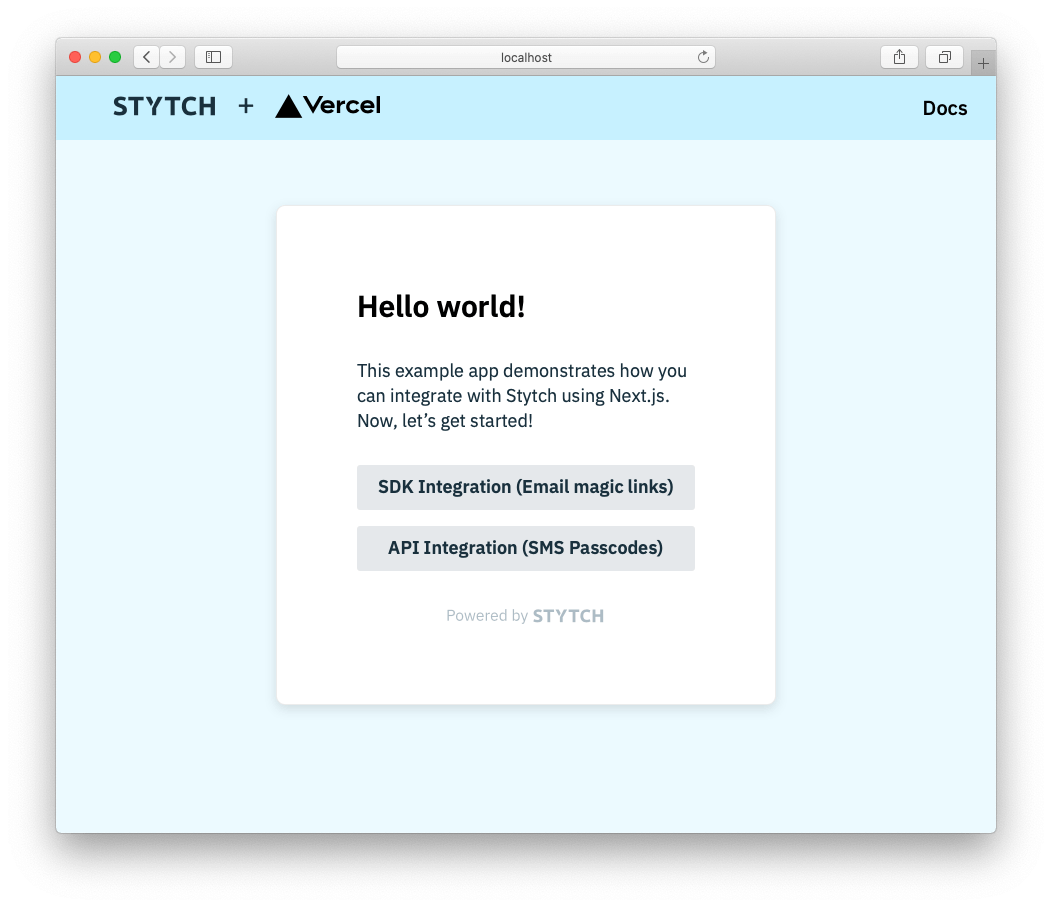
In this repo, we have two sample auth flows:
- SDK integration: This flow uses Stytch's React component to create a login and sign-up flow using Email Magic Links.
- API integration: This flow uses a custom UI with Stytch's backend API for Onetime Passcodes(OTP) via SMS authentication.
Both flows use Stytch's Node client library and iron-session for session management.
Note: By default this example app enables three of our OAuth providers, Google, Microsoft, and Apple. If you haven't set up these OAuth providers in your Dashboard, you'll receive a redirect error when you attempt to login via those providers. You may remove all OAuth methods by removing SDKProductTypes.oauth from the products array in pages/index.tsx or adjust which ones are displayed by via oauthOptions.providers in the same file. More detail on working with OAuth providers in our SDK may be found in our Docs.
Deploy on Vercel
Setting up Stytch
The first step is to configure the appropriate redirect URLs for your project. You'll set these magic link redirect URLs in the Redirect URLs section of your Dashboard. Add https://*.vercel.app:3000 as both a login and sign-up redirect URL.
Running the example app
Now just click the deploy button below! Once you're signed in to your Vercel account, you'll be guided through how to get up and running quickly. Check out .env.template for pointers on filling in the appropriate environment variables for this step.

Running locally via vercel dev
Setting up Stytch
After signing up for Stytch, you'll need your Project's project_id, secret, and public_token. You can find these in the API keys tab.
Once you've gathered these values, add them to a new .env.local file. Example:
cp .env.template .env.local
# Replace your keys in new .env.local file
Next we'll configure the appropriate redirect URLs for your project, you'll set these magic link URLs for your project in the Redirect URLs section of your Dashboard. Add http://localhost:3000/api/authenticate_magic_link as both a login and sign-up redirect URL.
Running the example app
Install dependencies by running
npm install
# or
yarn install
You can then run a development server using:
vercel dev
Open http://localhost:3000 with your browser to see the result.
Documentation
Learn more about some of Stytch's products used in this example app: