## Description This PR ensures that the default prettier config is used for examples and templates. This config is compatible with `prettier@3` as well (upgrading prettier is bigger change that can be a future PR). ## Changes - Updated `.prettierrc.json` in root with `"trailingComma": "es5"` (will be needed upgrading to prettier@3) - Added `examples/.prettierrc.json` with default config (this will change every example) - Added `packages/create-next-app/templates/.prettierrc.json` with default config (this will change every template) ## Related - Fixes #54402 - Closes #54409 |
||
|---|---|---|
| .. | ||
| components | ||
| lib | ||
| pages | ||
| public/favicon | ||
| styles | ||
| .env.local.example | ||
| .gitignore | ||
| jsconfig.json | ||
| next.config.js | ||
| package.json | ||
| postcss.config.js | ||
| README.md | ||
| tailwind.config.js | ||
A statically generated blog example using Next.js and Prepr
This example showcases Next.js's Static Generation feature using Prepr as the data source.
Demo
Check out our Blog page example:
- Live: https://next-blog-prepr.vercel.app/
- Preview: https://next-blog-prepr.vercel.app/api/preview...
How to use
Run one of the following create-next-app commands using npm, Yarn, or pnpm to create a new Next.js app and connect it to Prepr:
npx create-next-app --example cms-prepr cms-prepr-app
yarn create next-app --example cms-prepr cms-prepr-app
pnpm create next-app --example cms-prepr cms-prepr-app
Configuration
Step 1. Set up Prepr
1.1 First, sign up for a Prepr account.
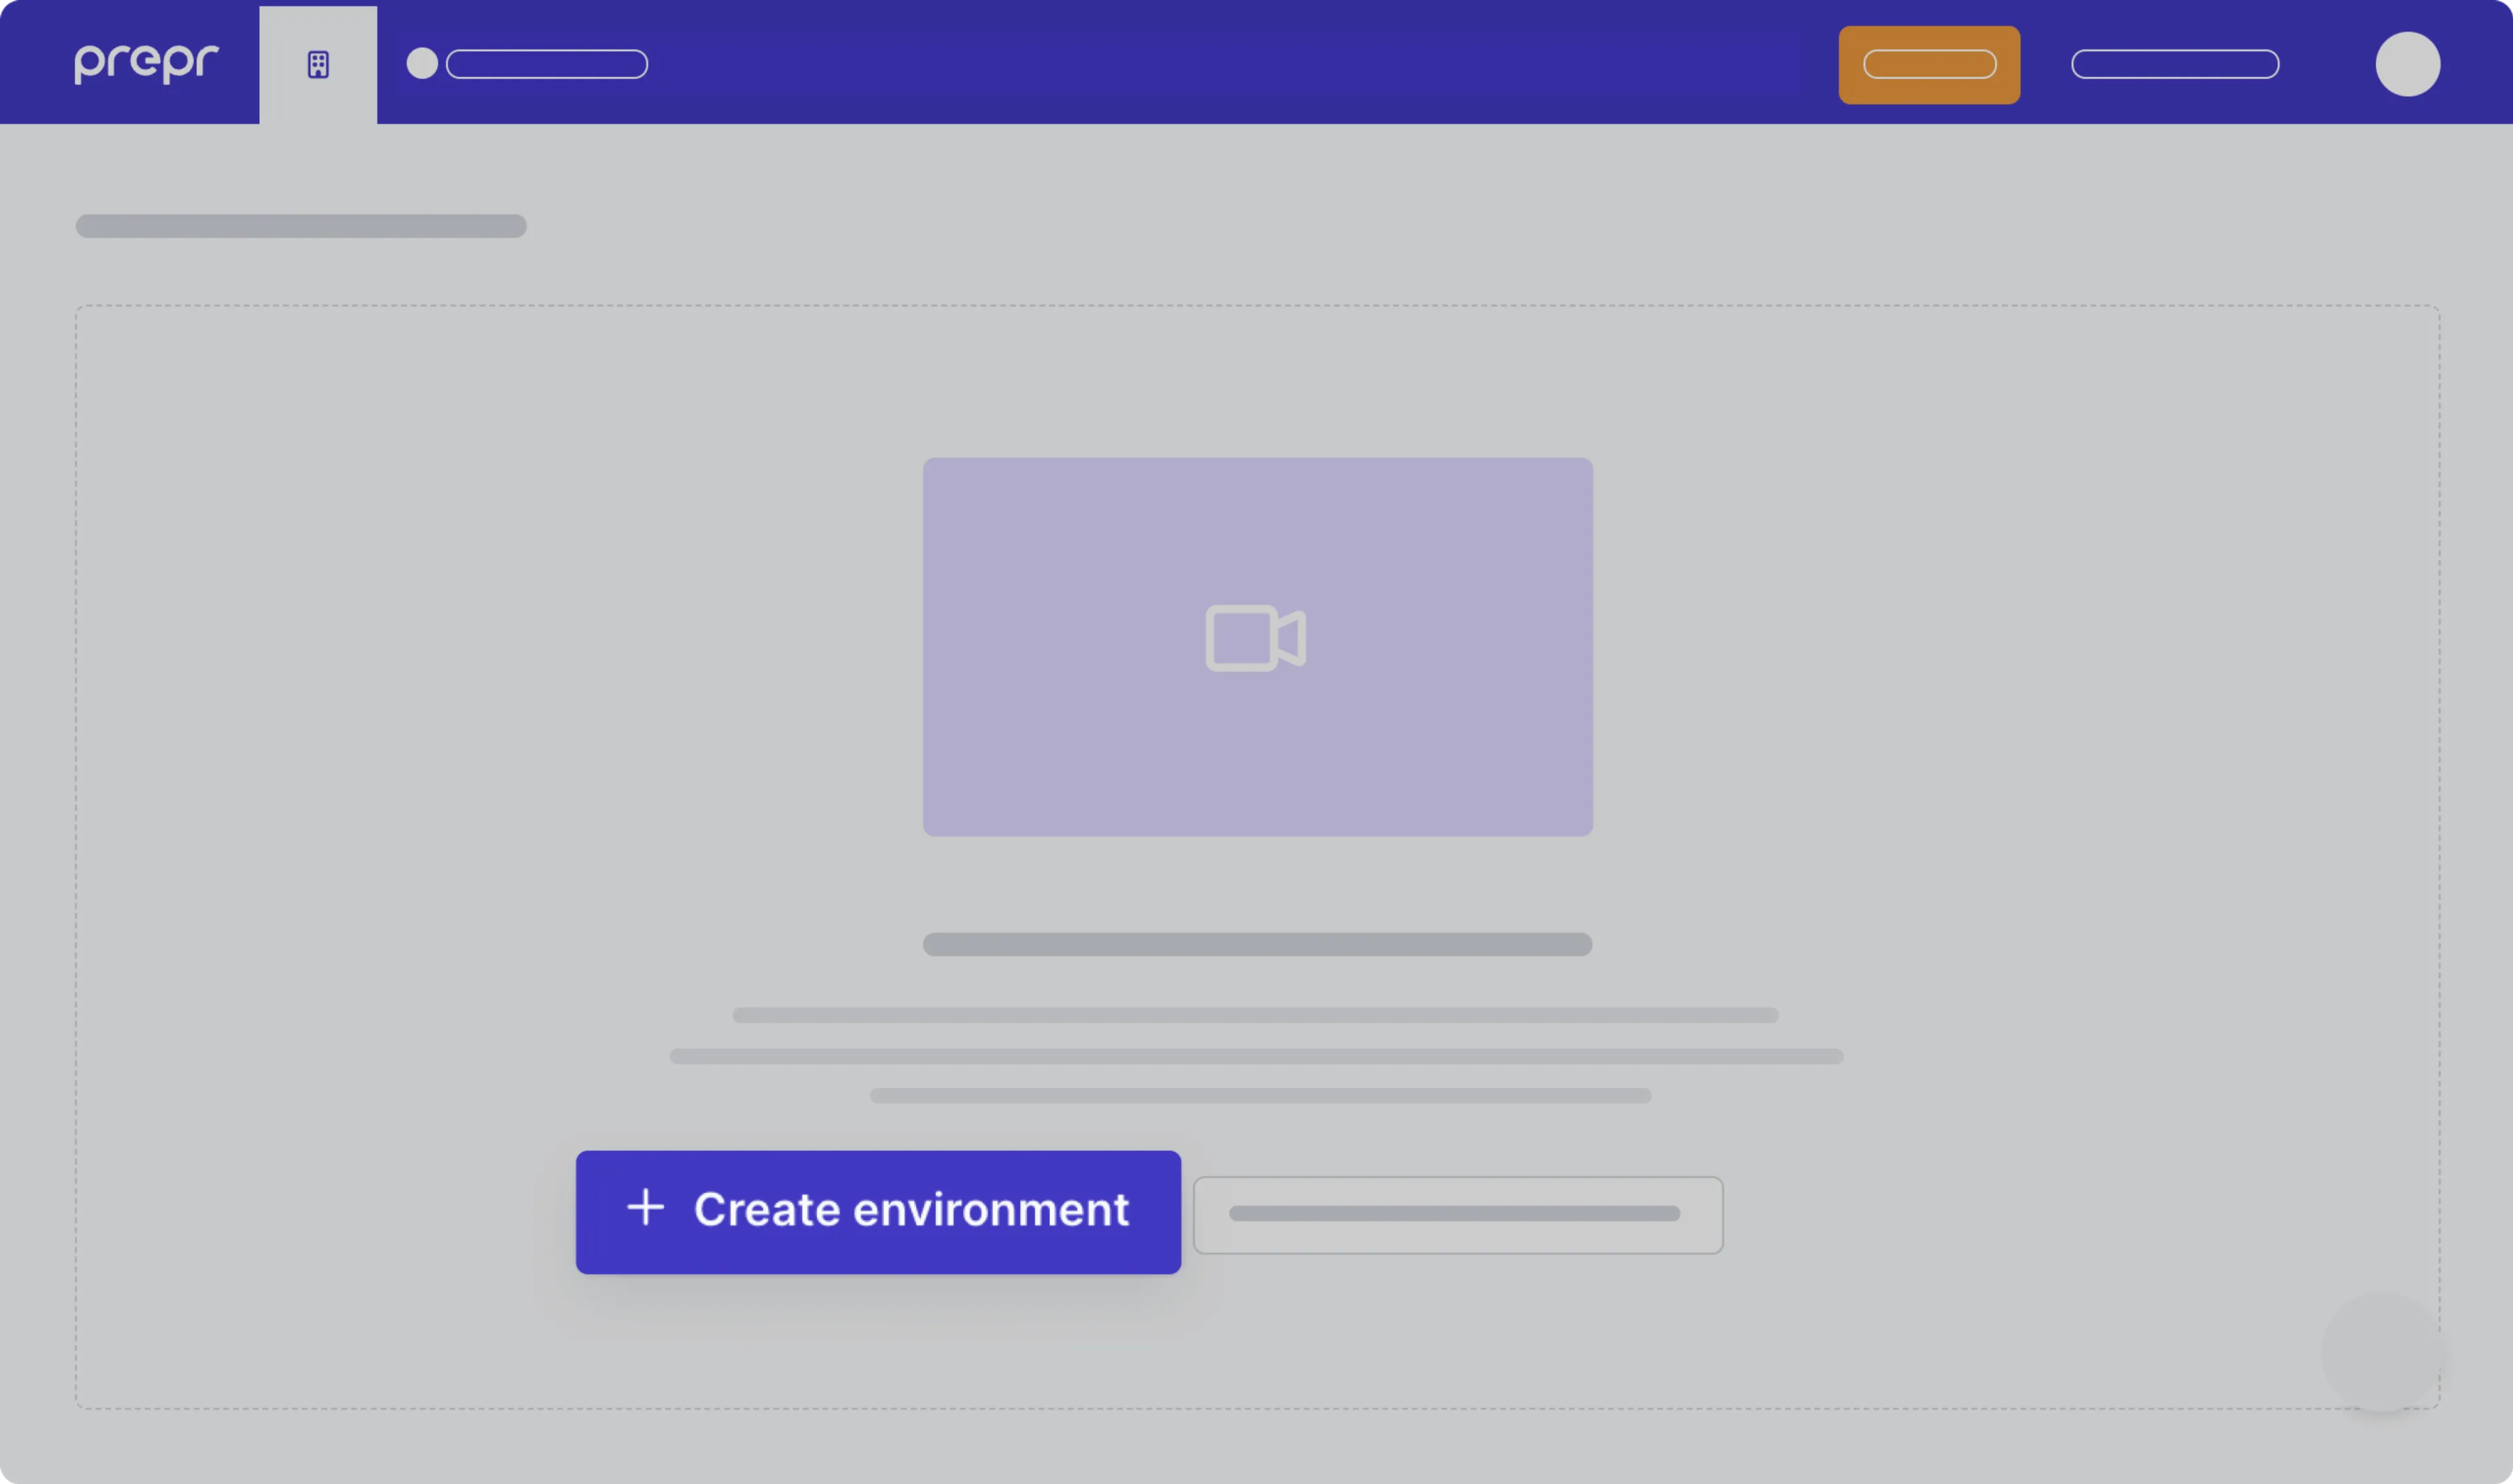
1.2 After you sign up, create a new environment in Prepr. For more details, check out the environment docs.
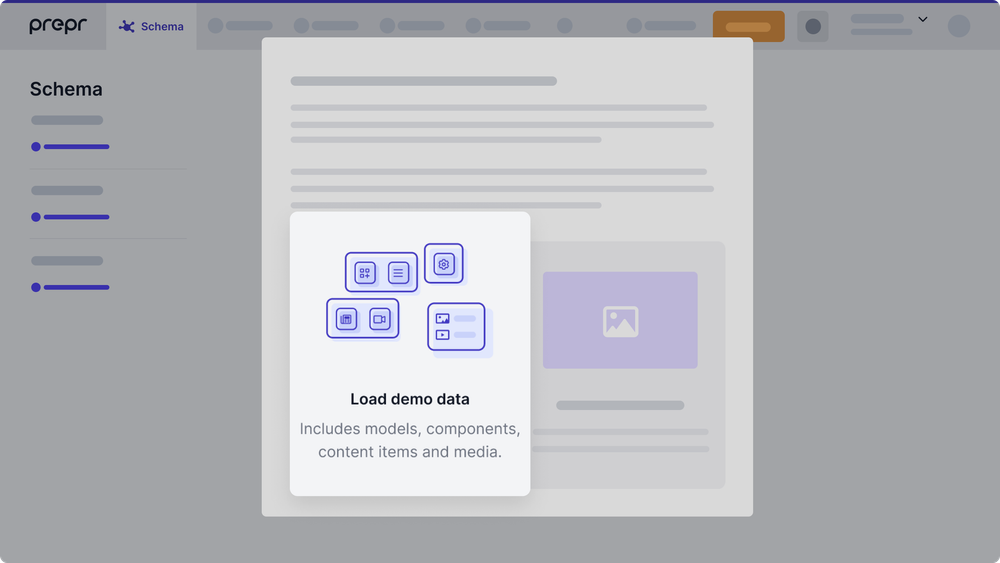
1.3 Once you’ve created the environment, choose to Load demo data. With that, Prepr will automatically upload sample models, content items, and other data you can use for your example Next.js app.
Step 2. Set up environment variables
Once you’ve set up your Prepr environment, you can define environment variables for your project. Please proceed with the steps below.
2.1 Run the following command to copy and rename the .env.local.example file as follows:
cp .env.local.example .env.local
The .env.local file will be ignored by Git.
2.2 In your environment, navigate to Settings > Access Tokens. You will see the automatically generated access tokens for your Prepr environment.
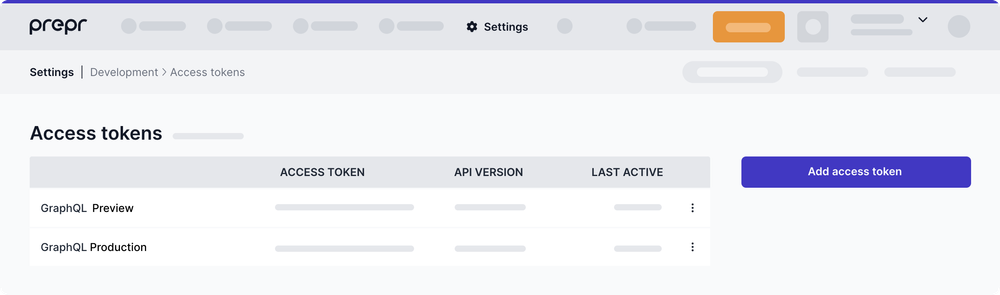
Copy the GraphQL Production access token and paste it as the PREPRIO_PRODUCTION_TOKEN variable in .env.local. Then copy and paste the GraphQL Preview access token as the PREPRIO_PREVIEW_TOKEN variable.
Alternatively, you can create access tokens yourself by clicking Add access token. If so, make sure to choose the right GraphQL permissions for the access tokens.
2.3 Set a custom value with no spaces as the PREPRIO_PREVIEW_SECRET variable, for example, a UUID. This value will be used to enable preview mode.
Once done, your .env.local file should look like this:
PREPRIO_API=https://graphql.prepr.io/graphql
PREPRIO_PRODUCTION_TOKEN='your Production access token'
PREPRIO_PREVIEW_TOKEN='your Preview access token'
PREPRIO_PREVIEW_SECRET='your secret id'
Step 3. Run Next.js in development mode
Now that you've finished preparing the project, you may proceed to run it.
3.1 Execute one of the following commands to install the packages listed in the package.json file:
npm install
yarn install
3.2 Execute one of the following commands to run the dev script defined in the package.json file:
npm run dev
yarn dev
Your example Blog website should be up and running on http://localhost:3000. If it doesn't work, please post on GitHub discussions.
Step 4. Optional: Try Preview mode
Great progress has been made! You are just a few steps away from getting your example website live. Before proceeding, you can test how the content preview works in Prepr. This step is optional. Proceed to Step 5 if you don’t want to use preview mode.
To try preview mode, follow these steps:
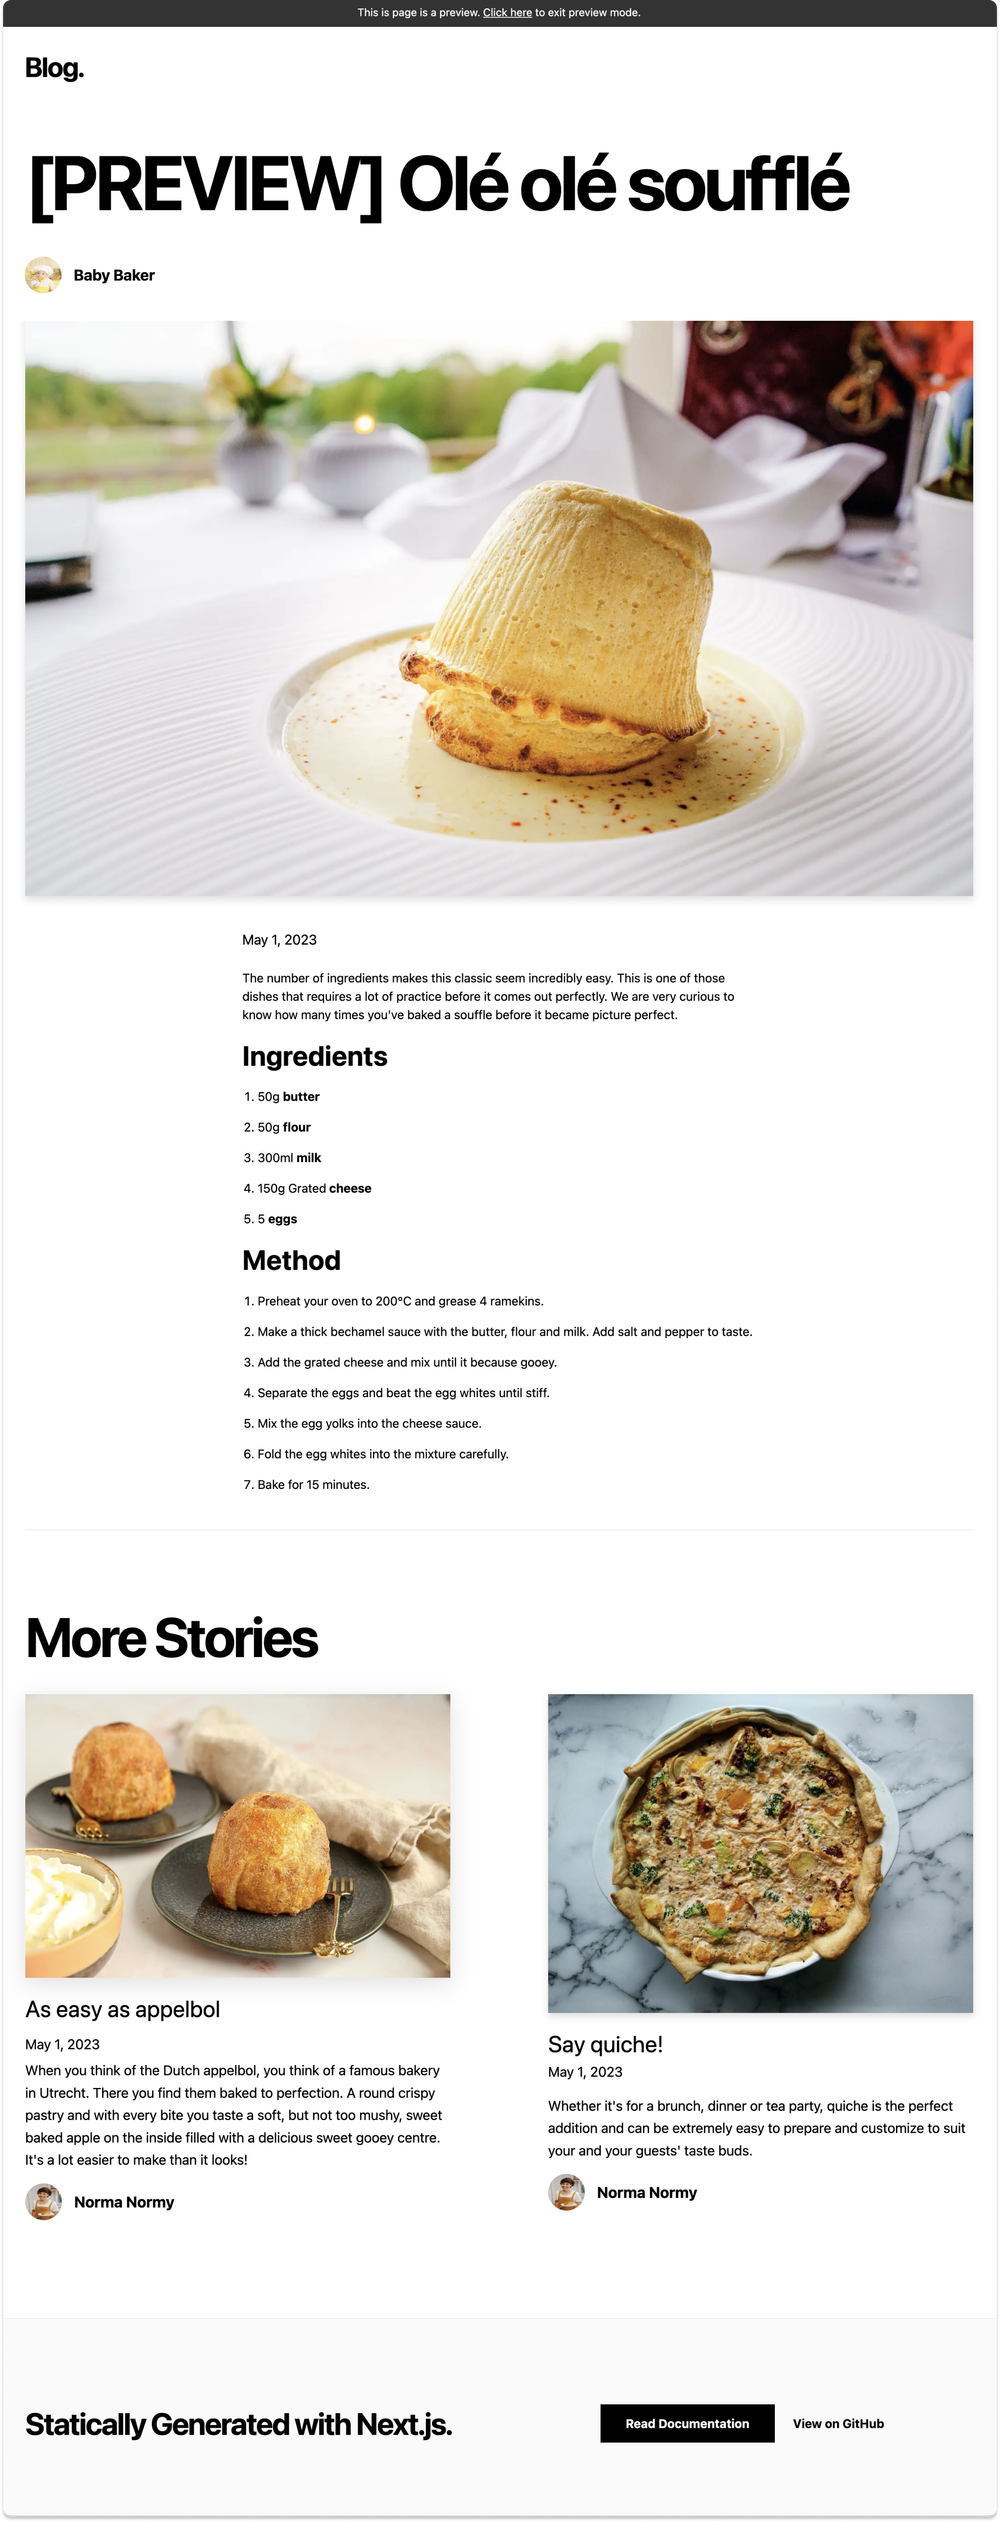
4.1 In Prepr, go to one of the content items of the Article model and update the item title. For example, you can add [PREVIEW] in front of the title. After you edit the content item, save it with the Review status.
4.2 To preview the content item, transform its URL to the following format:
http://localhost:3000/api/preview?secret=<PREPRIO_PREVIEW_SECRET>&slug=<SLUG_TO_PREVIEW>,
where:
<PREPRIO_PREVIEW_SECRET>is the same preview secret you defined in the.env.localfile;<SLUG_TO_PREVIEW>is the slug of the content item you want to preview.
Note: To exit the preview mode, you must click on Click here to exit preview mode at the top of the page.
Step 5. Deploy on Vercel
To make your Next.js app available online, deploy it to the cloud using Vercel. Vercel provides a user-friendly platform for deploying and managing web applications. For more information, please refer to the Next.js documentation.
You can go for one of the following options:
- Deploy your local project
To deploy your local project to Vercel, push it to GitHub/GitLab/Bitbucket and import it to Vercel.
Important: When you import your project on Vercel, make sure to click on Environment Variables and set them to match your .env.local file.
- Deploy from our template
Alternatively, you can deploy using our template by clicking on the Deploy button below.
Next steps
For more advanced topics, please refer to the Prepr’s documentation:
If you have questions, please get in touch with one of our specialists or join our Slack community.