I added ` *.tsbuildinfo` to gitignores of examples that use typescript and don't already have it. By use typescript I mean have `tsconfig` somewhere in their directory tree.

I used the following script to update the files:

```bash
#!/bin/bash

set -eou pipefail

cd examples
examples=`git ls-files . | grep tsconfig | xargs dirname | grep -v "/"`

for example in $examples; do
    if ! grep -q tsbuildinfo $example/.gitignore; then
        gitignore="$example/.gitignore"
        echo $gitignore
        tail -c1 $gitignore | read -r _ || echo >> $gitignore
        echo -e "\n# typescript\n*.tsbuildinfo" >> $gitignore
    fi
done
```
|
||
|---|---|---|
| .. | ||
| components | ||
| docs | ||
| libs | ||
| pages | ||
| public | ||
| styles | ||
| .env.local.example | ||
| .gitignore | ||
| next-env.d.ts | ||
| package.json | ||
| README.md | ||
| tsconfig.json | ||
Using Next.js with Unsplash API
This is an example of how Unsplash can be used with Next.js
Deploy your own
Once you have access to the environment variables you'll need, deploy the example using Vercel:
How to use
Execute create-next-app with npm, Yarn, or pnpm to bootstrap the example:
npx create-next-app --example with-unsplash with-unsplash-app
# or
yarn create next-app --example with-unsplash with-unsplash-app
# or
pnpm create next-app --example with-unsplash with-unsplash-app
Configuration
First, you'll need to create an account on Unsplash if you don't have one already. Once that's done, follow the steps below.
Step 1. Create an app on Unsplash
Create a new application on Unsplash.
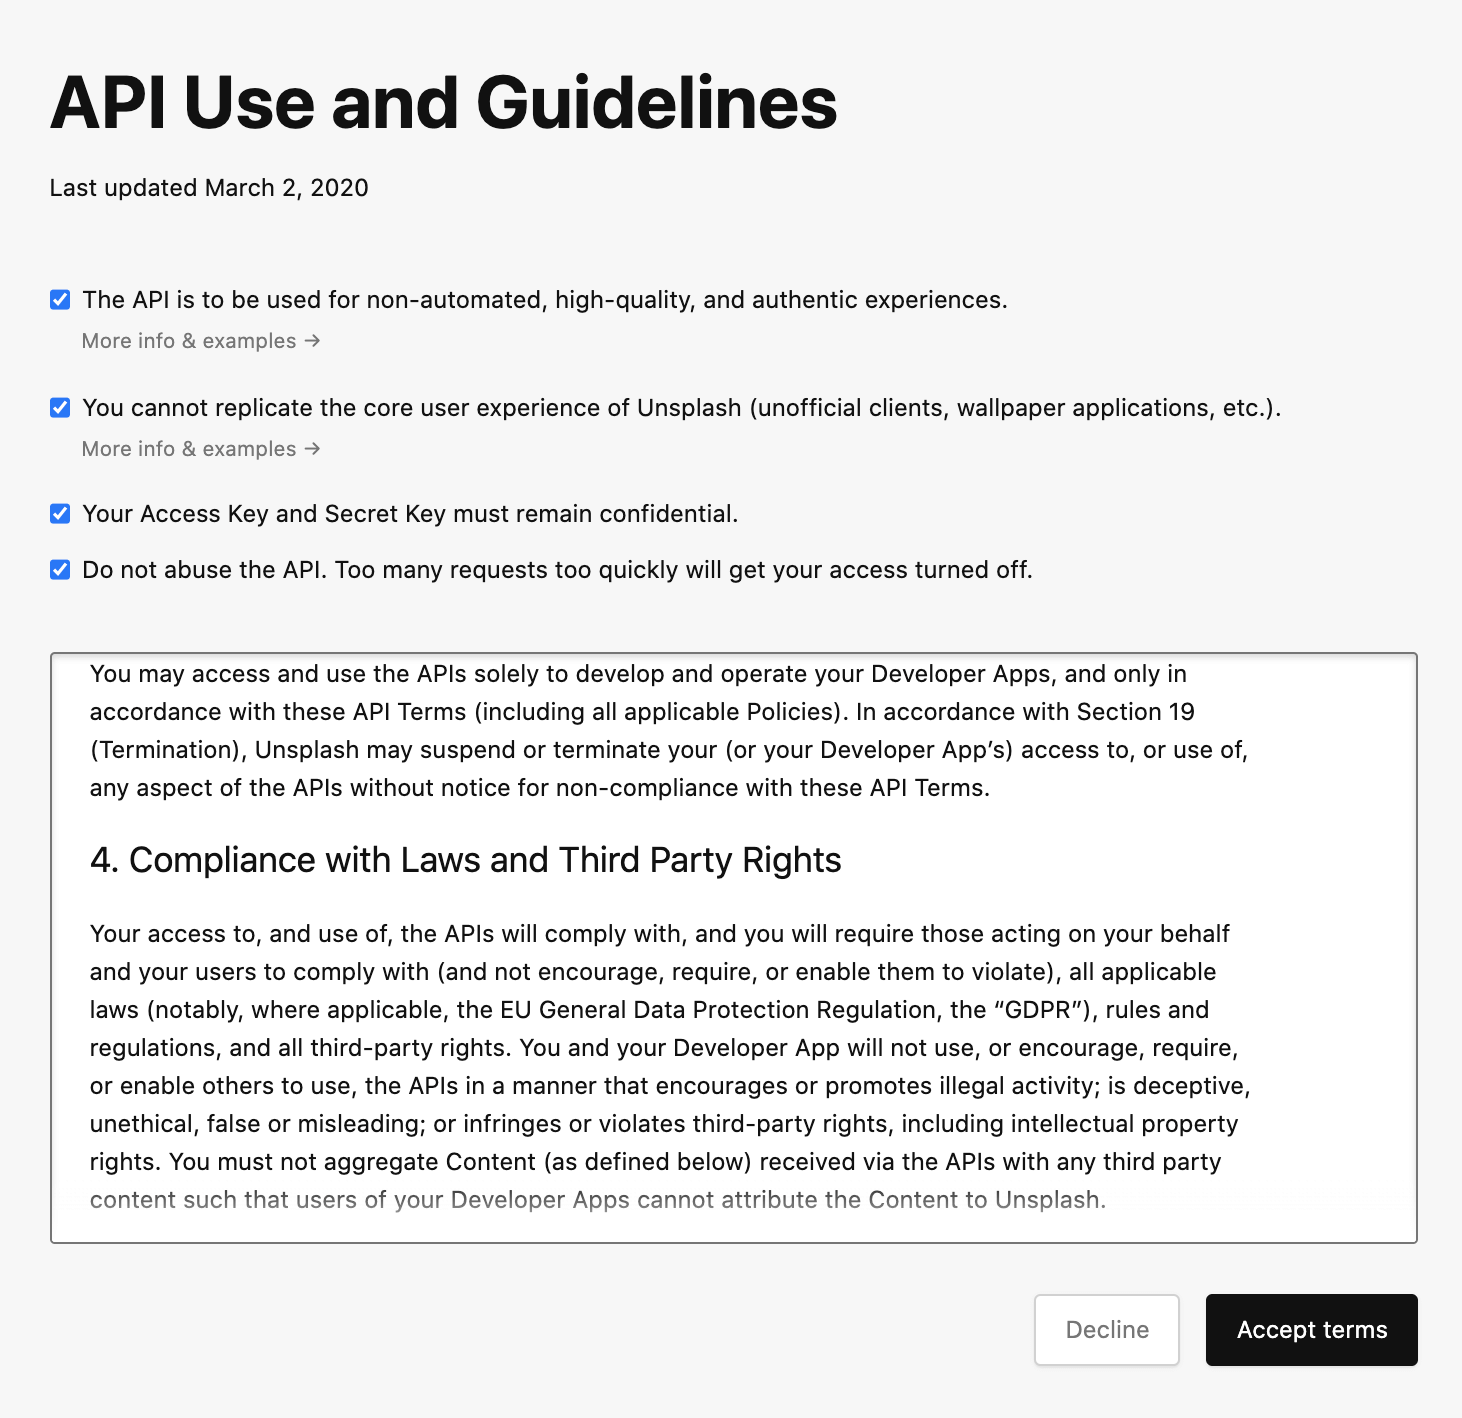
Before creating an app you'll have to accept the terms for API use:
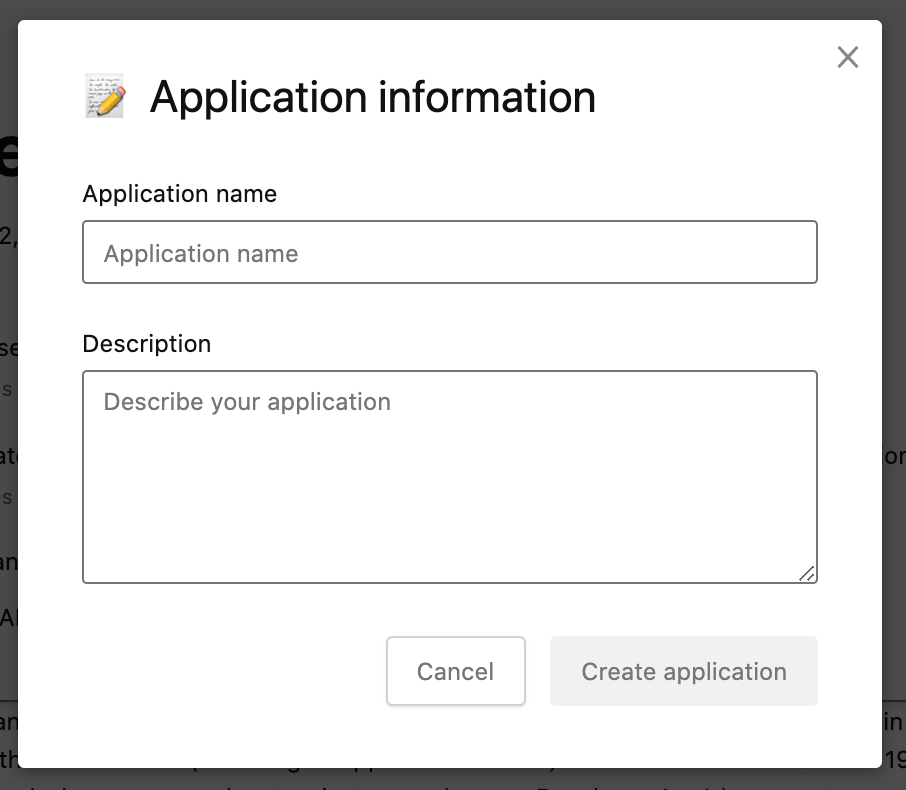
Then, fill the form with the app name and description, and click on on Create application to finish the creation of your app:
Step 2. Set up environment variables
After creating the app, you should be able to see the API keys in the settings page of your app:
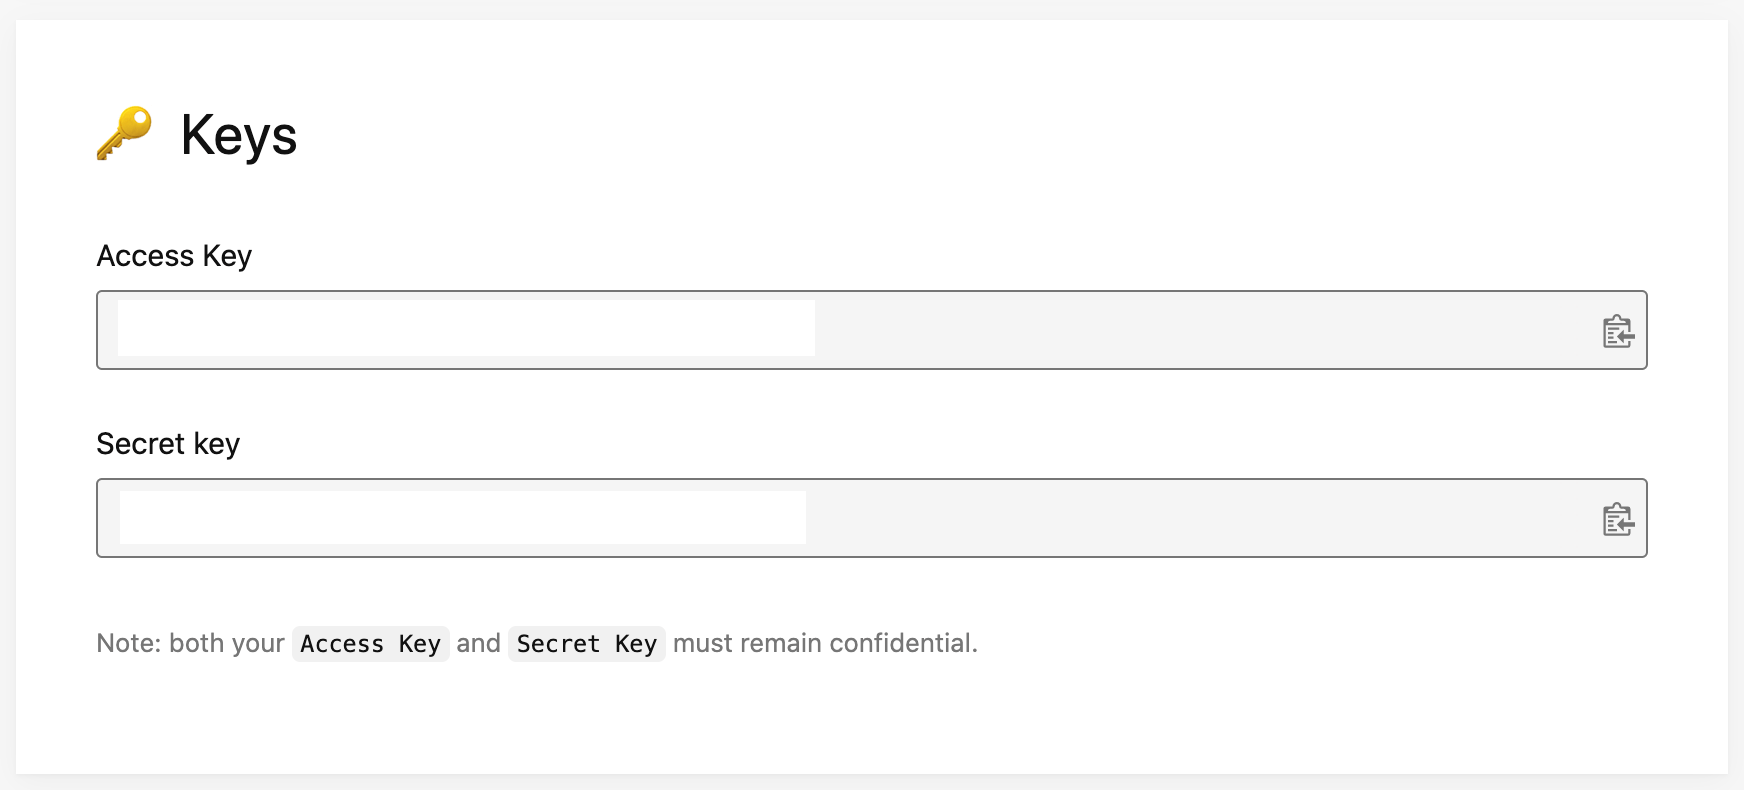
We'll need those API keys to connect the example with your Unsplash app.
First, copy the .env.local.example file in this directory to .env.local (which will be ignored by Git):
cp .env.local.example .env.local
Then set each variable on .env.local:
UNSPLASH_ACCESS_KEYshould be the Access Key of your Unsplash appUNSPLASH_USERshould be any valid Unsplash username. The example will use the photos of the user selected here.
Step 3. Run Next.js in development mode
npm install
npm run dev

# or

yarn install
yarn dev
Your app should be up and running on http://localhost:3000! If it doesn't work, post on GitHub discussions.
Step 4. Deploy on Vercel
You can deploy this app to the cloud with Vercel (Documentation).
Deploy Your Local Project
To deploy your local project to Vercel, push it to GitHub/GitLab/Bitbucket and import to Vercel.
Important: When you import your project on Vercel, make sure to click on Environment Variables and set them to match your .env.local file.
Deploy from Our Template
Alternatively, you can deploy using our template by clicking on the Deploy button below.